Just Dental Support page
Welcome to Just Dental Dentist Support page
Welcome to the Just Dental Support Page. Here is your guide to starting your virtual dental appointments with your/or new patients.
-
How can I make a dentist account?
- Browse for Just Dental.com, and click ‘Dentist Sign in’.

- Click ‘Create an Account’.
.png)
- Enter the required information
.png)
- Choose your package
.png)
- Confirm and proceed with the payment.
.png)
-
Enter your financial information.
.png)
2. How to answer patient requests or leads?
a. Sign into your dentist account.
b. Click Messages then click any patient
.png)
3. How can I review patient information?
- Click any virtual dental patient, and you will find the ‘View Post Details’ option in the top patient screen.
.png)
• This is an example of your virtual dental patient.

4. How to answer patient's requests or leads?
a. Close the patient's post details to respond.
b. Type your answer in the chat text field below.
c. Click the ‘Blue Arrow’ or hit ‘Enter’ on your keyboard to send the message.
.png)
5. How can I follow up with a new lead who is routed to my account?
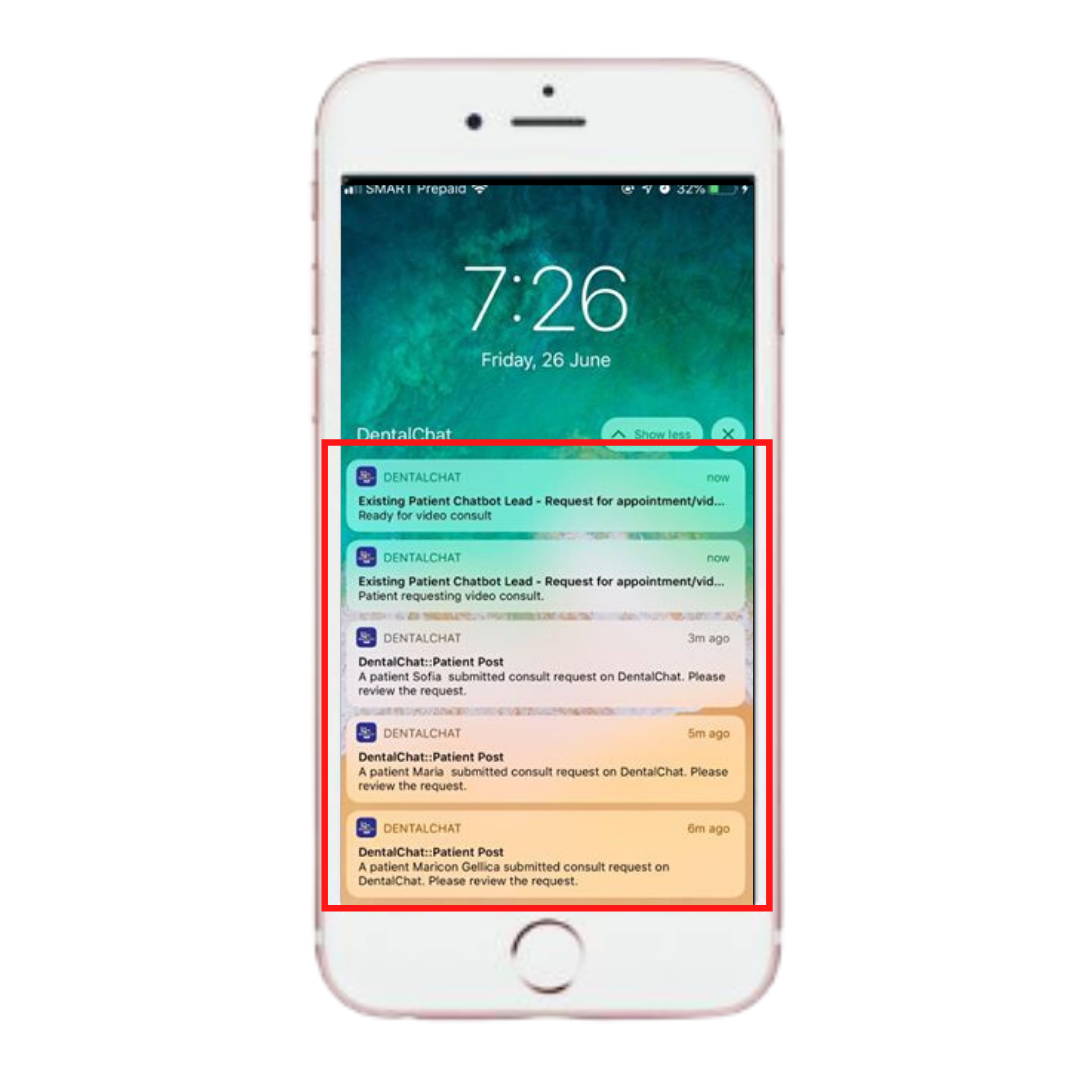
After Just Dental Smart Bot gathers and captures all the patient’s information, the Smart Bot will send push notifications right away through:
Mobile:
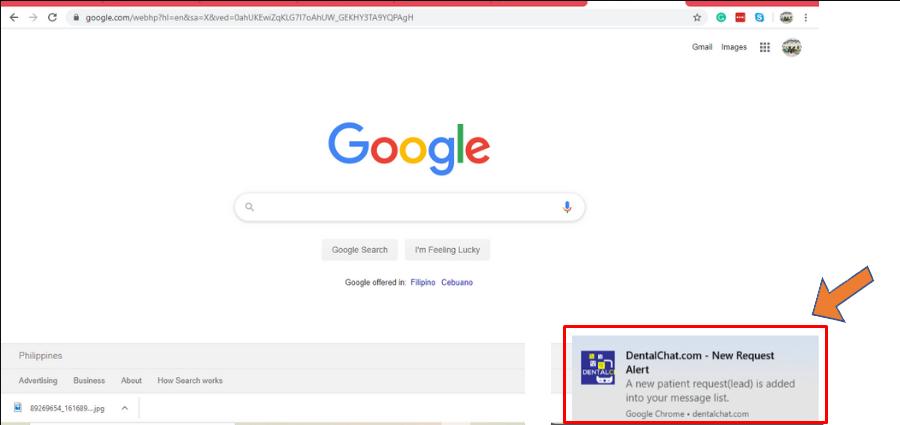
Browser:
6. How to activate Push notification on my phone?
a. To receive a mobile notification, you will need to download the Just Dental App from App stores.
* For iOS, follow this link https://apps.apple.com/app/id1468091229
* For Android, follow this https://play.google.com/store/apps/details?id=com.dental.chat&hl=en_US
b. Install the app, Sign in as Dentist, and enable push notifications. Check your phone notifications setting is on.
7. How to Push notifications to the browser?
Either Chrome, Internet Explorer, or Firefox you will receive browser notifications to the right lower side of the computer screen. These notification messages are broadcast by Just Dental. You need to login to your Just Dental Dentist account at least once on that computer, and enable notifications.
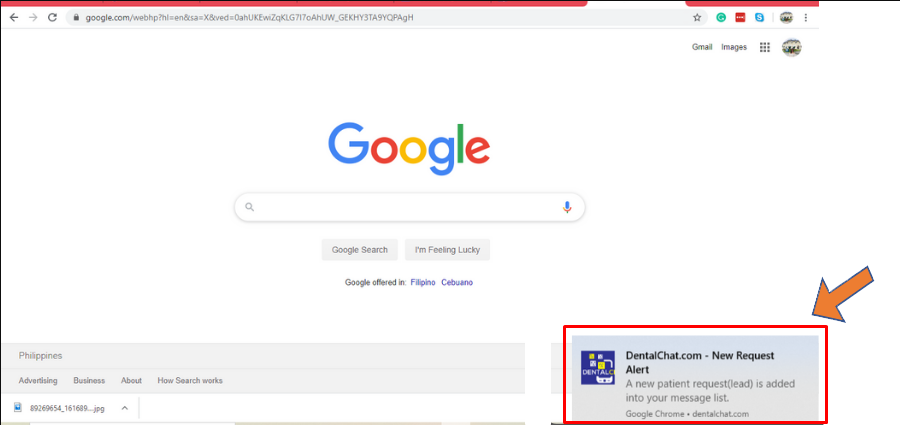
To ensure you never miss a lead or patient message, you get notifications on the browser whether you are on the Just Dental web page or not.
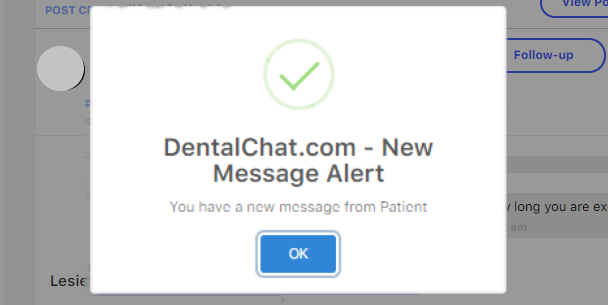
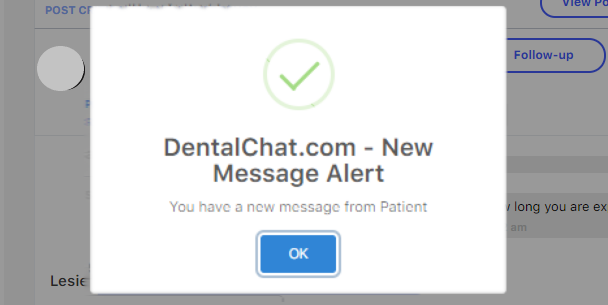
If you are already on the Just Dental web page, you will receive this pop-up notification.
8. I am not receiving push notifications on my computer browser. Why?
You can activate push notifications on your Chrome, Mozilla Firefox, and Internet Explorer browser.
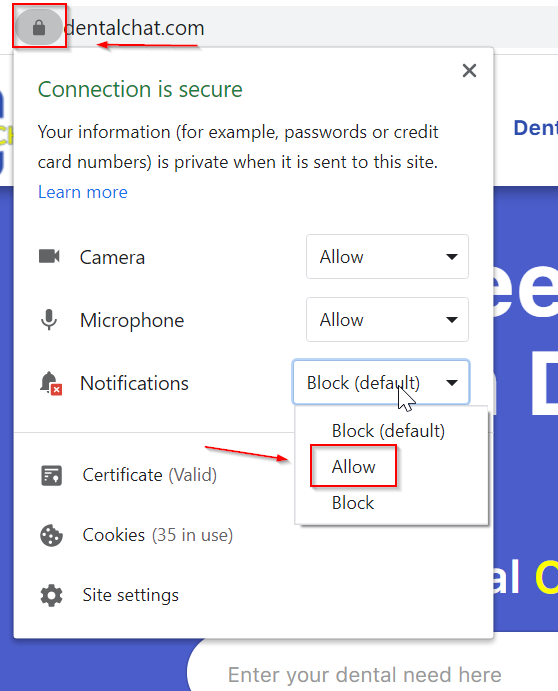
- Chrome: Please perform the below steps in case you are not receiving notifications on your Chrome browser.
a. Type Just Dental.com in your Chrome browser URL on your PC.
b. Click the lock icon next to the URL.
c. In the popup, under Notifications dropdown, select the "Allow" option.
d. click (x) to close the popup.
f. Refresh your browser page. Logout and log back in to see the notification.
- Mozilla Firefox: Please perform the below steps in case you are not receiving notifications on your Mozilla Firefox browser.
a. Type Just Dental.com in your Mozilla Firefox browser URL on your PC.
b. Click the lock icon next to the URL.
c. Click "Allow Notifications".
d. click (x) to close the popup.
f. Refresh your browser page. Logout and log back in to see the notification.

- Internet Explorer: Please perform the below steps in case you are not receiving notifications on your Internet Explorer browser.
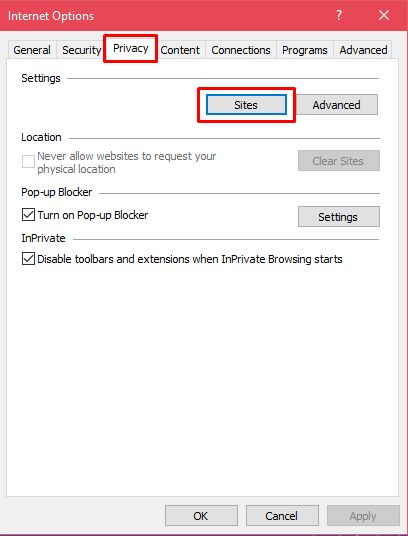
a. Click the settings icon from the top right and click "Internet Options".
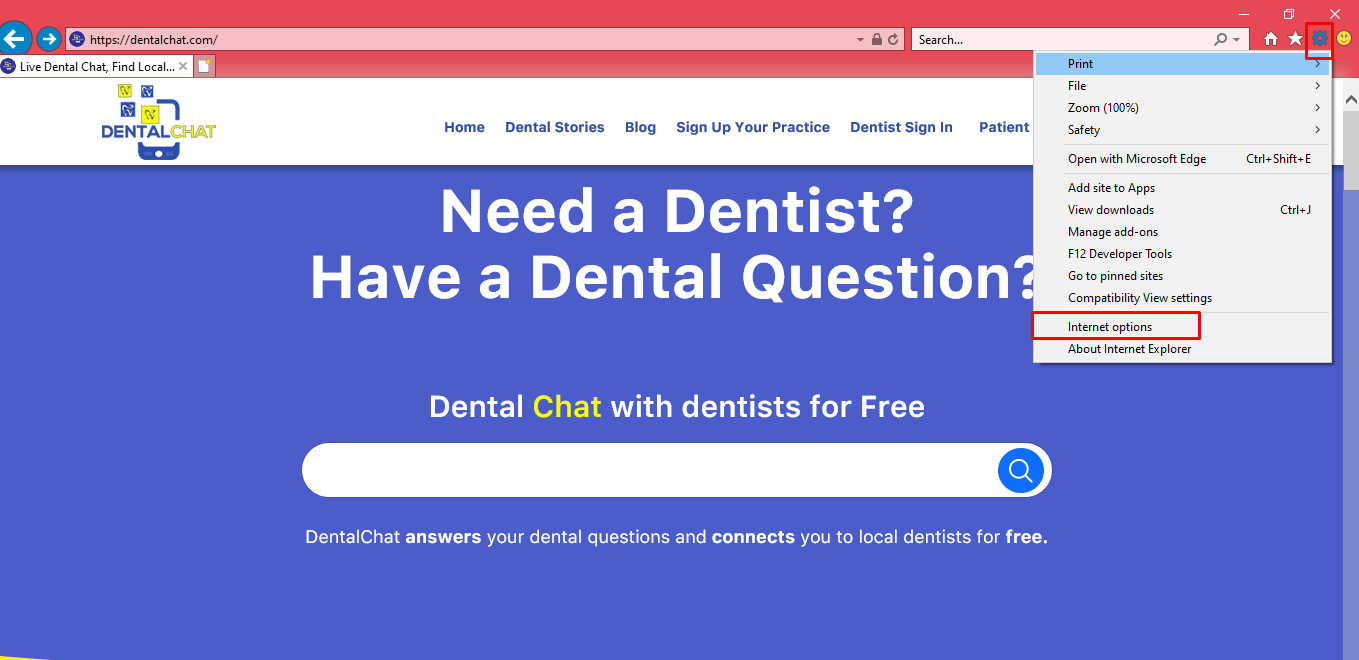
b. Go to the "Privacy" tab, and click "Sites".
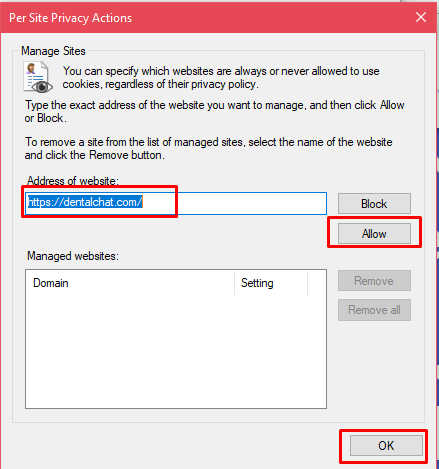
c. Type https://just-dental.com, click "Allow" and "Ok".
You can perform a test by interacting with your Just Dental chatbot on your web site and see if you receive notifications.
9. How can my staff access patients' requests?
-
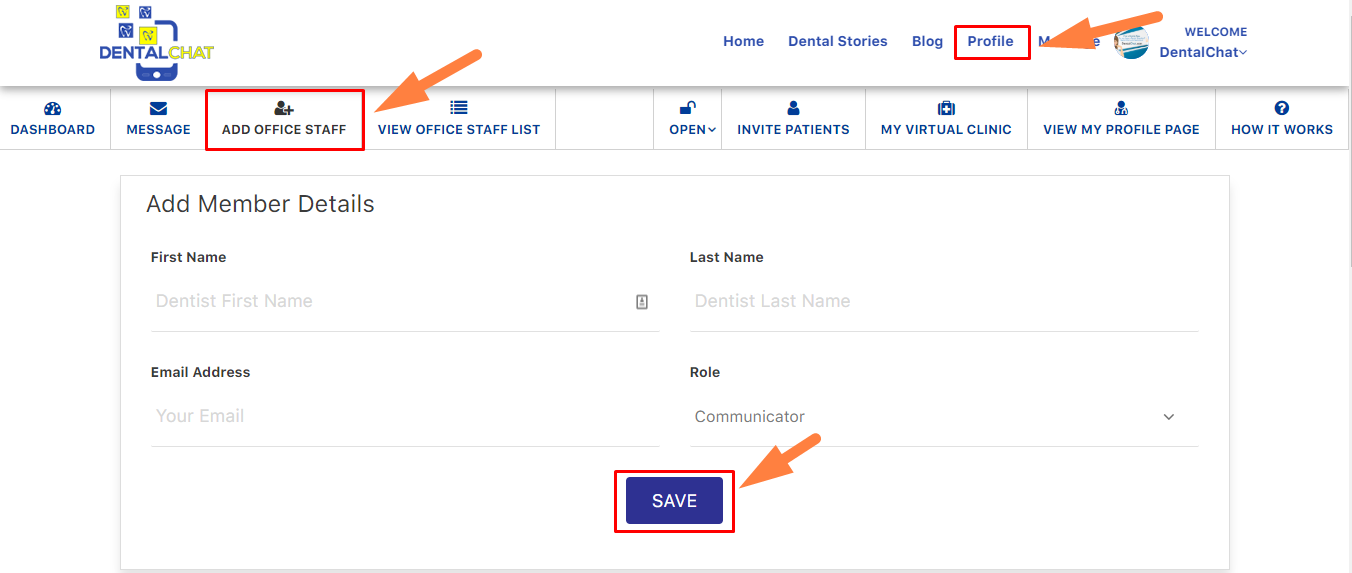
Go to ‘Profile’, Click Add Office Staff.
-
Enter the staffs’ information and Save.
10. How can I filter my chatbot leads according to specified criteria?
-
Click Messages on the top menu.
-
Click the filter icon.
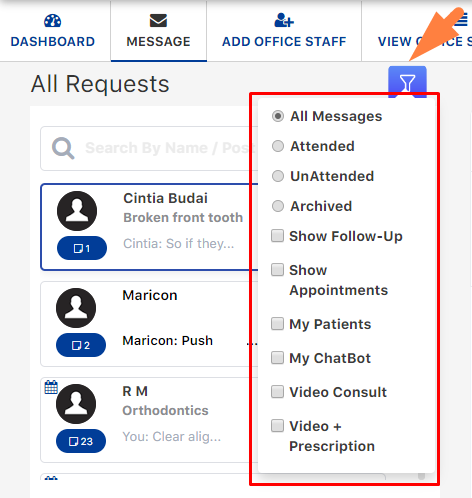
The Filter has the following options:
All Messages |
Displays all the requests available in your message dashboard, excludes archived requests or leads |
Attended |
Displays requests/leads that were already answered or communicated. |
Unattended |
Displays requests/leads that were not answered or communicated.Displays leads or requests who requested for an appointment. |
Archived |
Displays leads/requests that were marked as Archived. Archived is used to mark requests/leads that were completed consultation. Marking as ‘archive’ will prohibit leads or requests showing in your message page( by default). Note: Just Dental will automatically mark a lead or request as un-archived if the patient sends follow-up questions or responses. |
Show-follow-Up |
Displays lead that need follow-ups. Note: Just Dental will automatically mark a lead or request as a follow-up if a patient sends follow-up questions or responses. |
Show Appointment |
Displays leads or requests who requested for an appointment. |
My patients |
Displays leads or requests added as “+ Add Patient” on the message board. This is a very convenient feature to communicate with patients. |
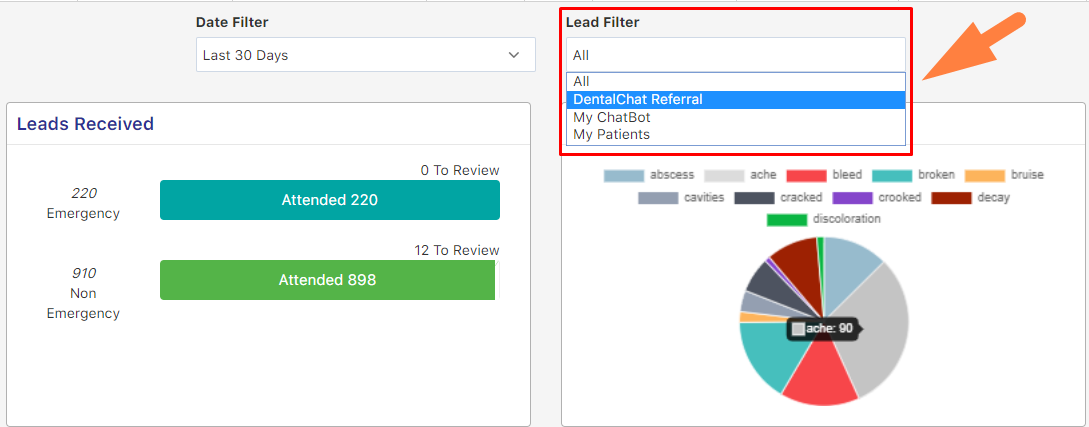
My Chatbot |
Displays leads or requests originated from your website, with the use of Just Dental Smart Bot |
11. Can I add Just Dental Smart Bot to my office website?
Yes, Just Dental can be added to your office website.
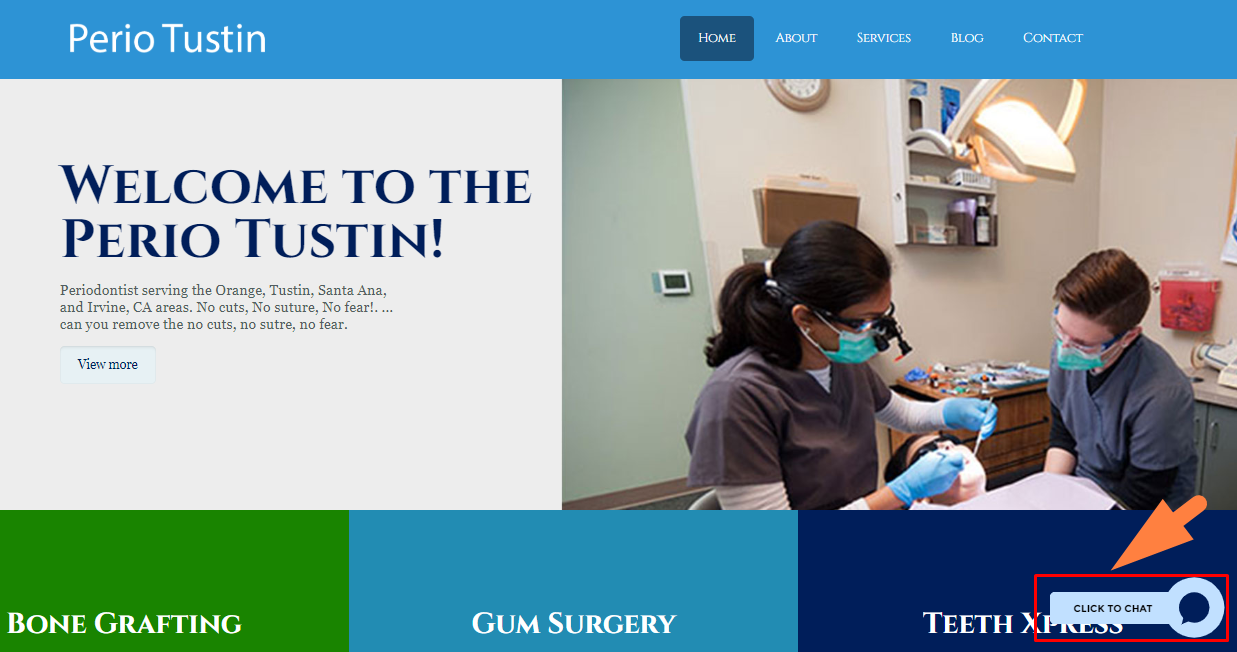
There are two benefits to connect your office website with Just Dental:
-
Your office patients are only routed to your Just Dental Dentist account Messages.
-
Just Dental website, also, refer many new patients to you if you set your Just Dental account to accept referral.
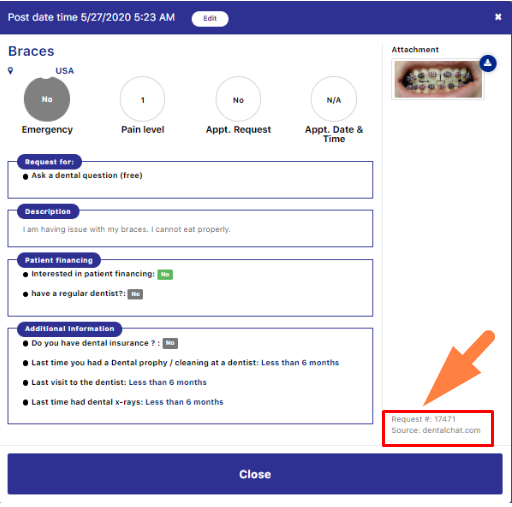
• When checking the View Post Details, you will find Just Dental is the source.
12. How many leads did I get? How to track them?
Dentists will have Interactive Analytics & Dashboard, which they will experience stunning graphs that represent counts, percentages or proportional data by each category. These visual representations are to help track your leads. You can use the interactive filters to slice the data and make meaningful insights.
• Click the Dashboard button on the white strip.
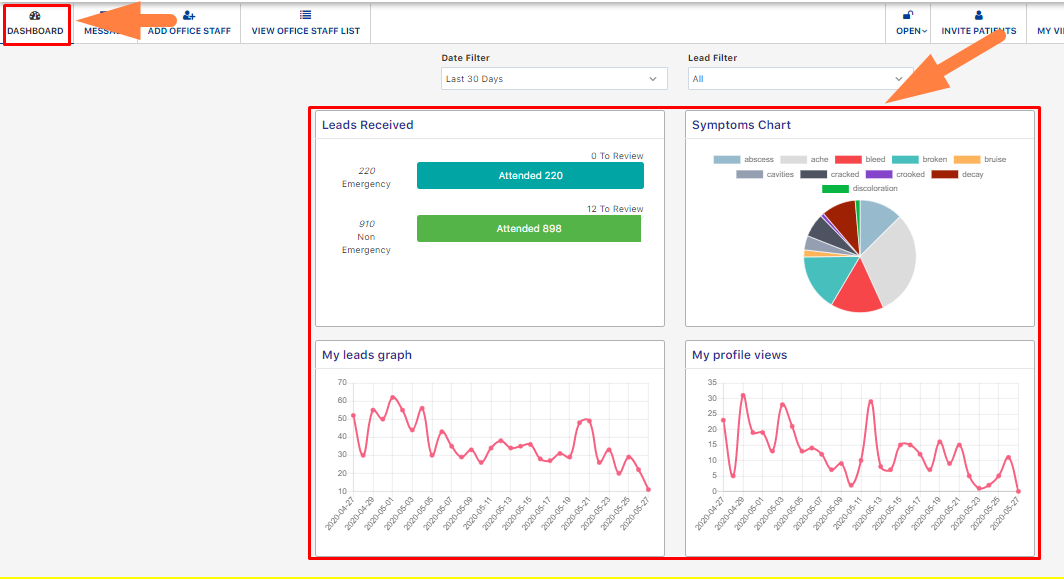
The Dentist dashboard shows you:
• Leads Received: counts of emergency and non-emergency leads that were attended vs un-attended.
• Symptoms Chart: represents the patient’s symptoms or dental problems.
• Lead Graph: represents the number of patients leads received/ day.
• My profile views: represents the number of visitors visiting your profile.
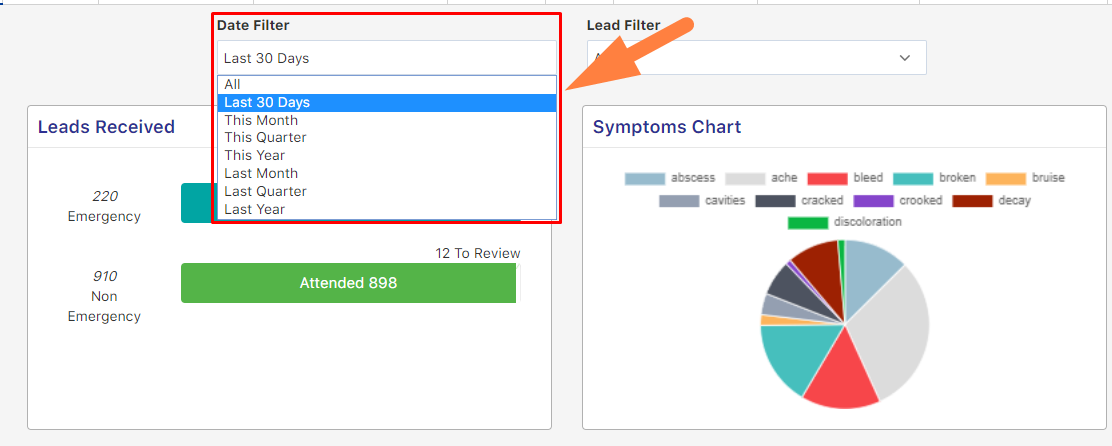
• Date filter: helps you to track your leads in a specific period.
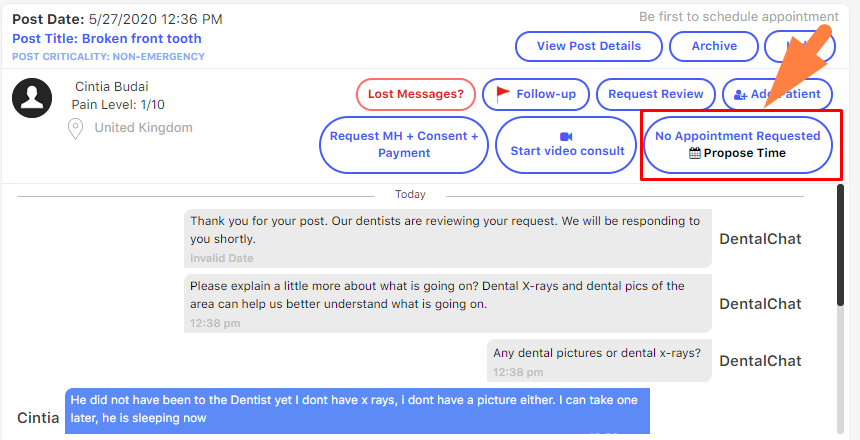
13. How to propose an appointment with a patient?
a. Login to your dentist's account.
b. Click on 'Messages'
c. Choose your patient
d. Click on 'show then propose a time'
14. How to manage my Profile information?
Completing your profile information is very important as your profile will be viewed by thousands of local patients in your area looking for dental help, and this information is much required to establish trust and professional relationships with new patient clients and enables them to book an appointment or message you at your practice.
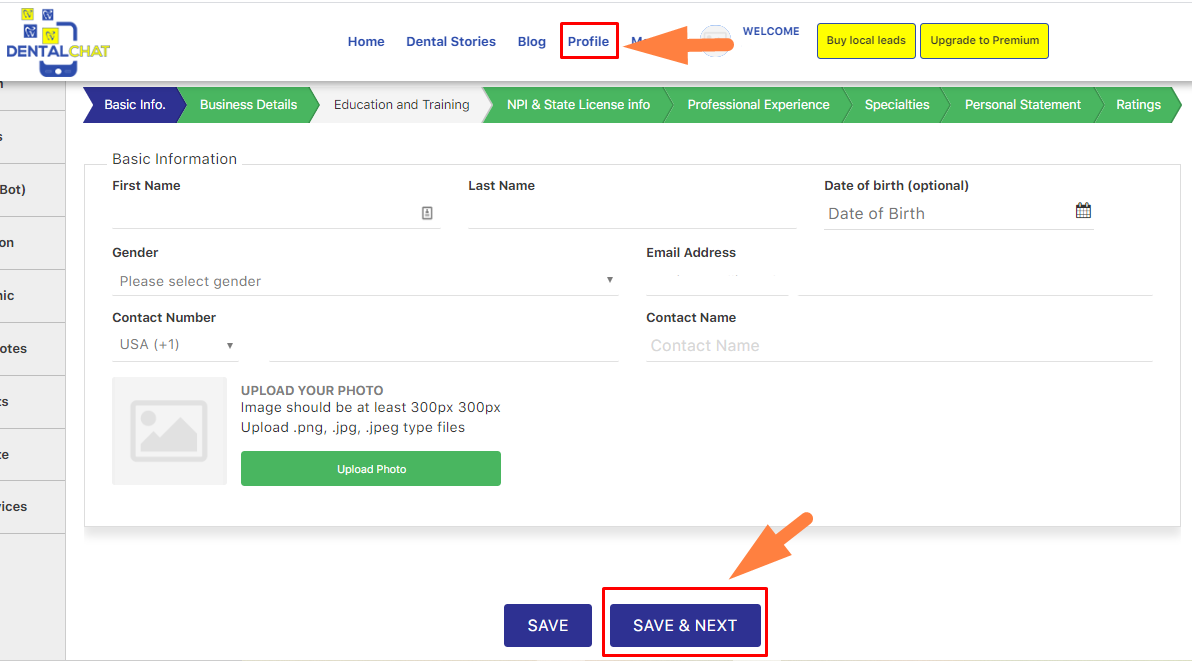
Below are the simple guided steps on how to manage your profile information:
• Login to your dentist account and click on profile and enter the needed information and click Save & Next.
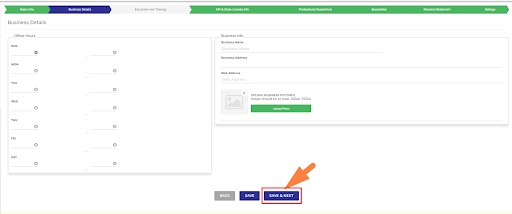
• Enter your business hours and click Save & Next.
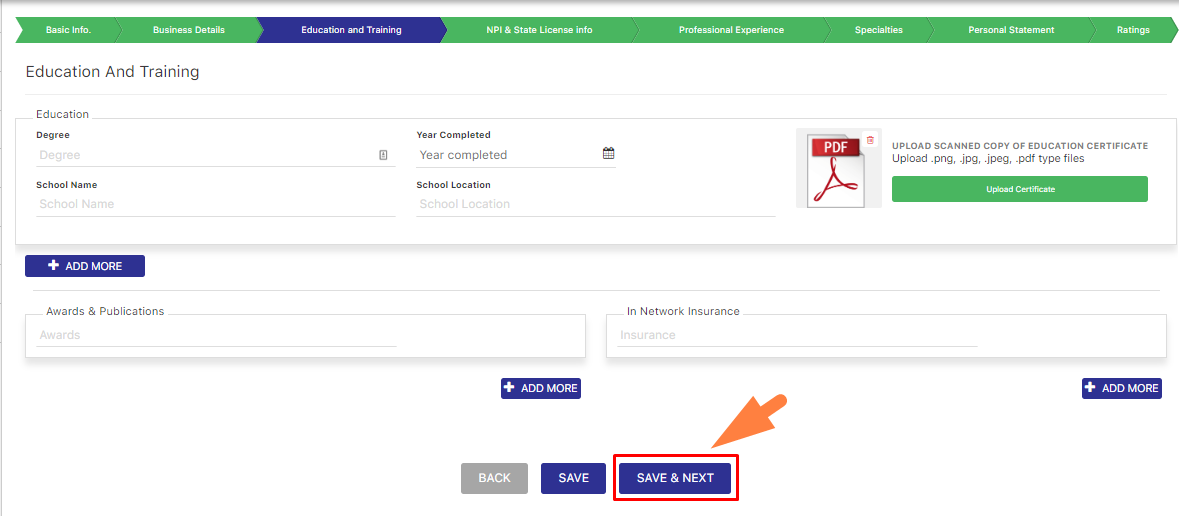
• Enter your Education and Training information and click Save & Next.
• Enter your license information and click Save & Next.
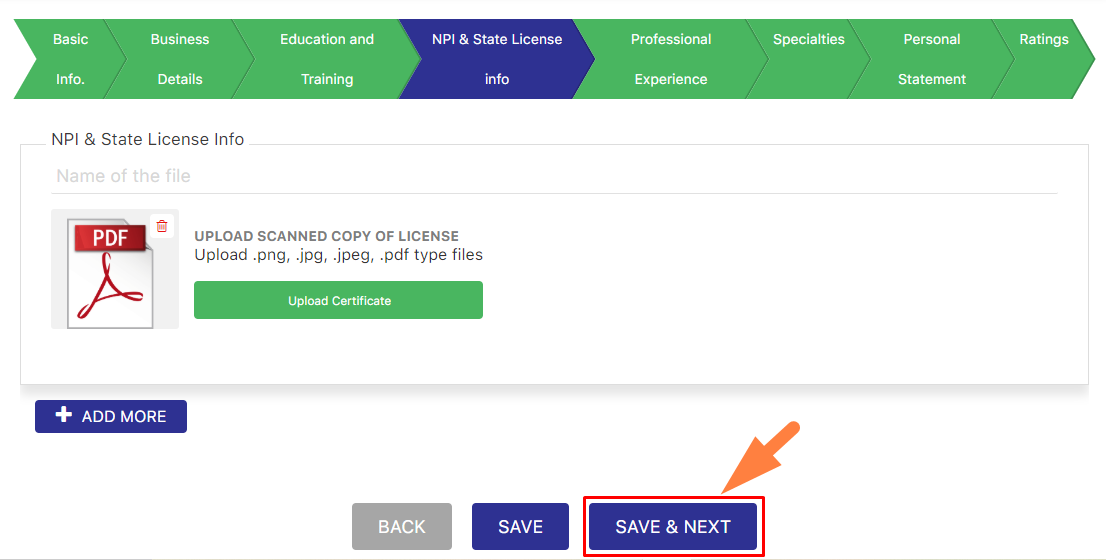
• Enter your Professional Experience Information and click Save & Next.
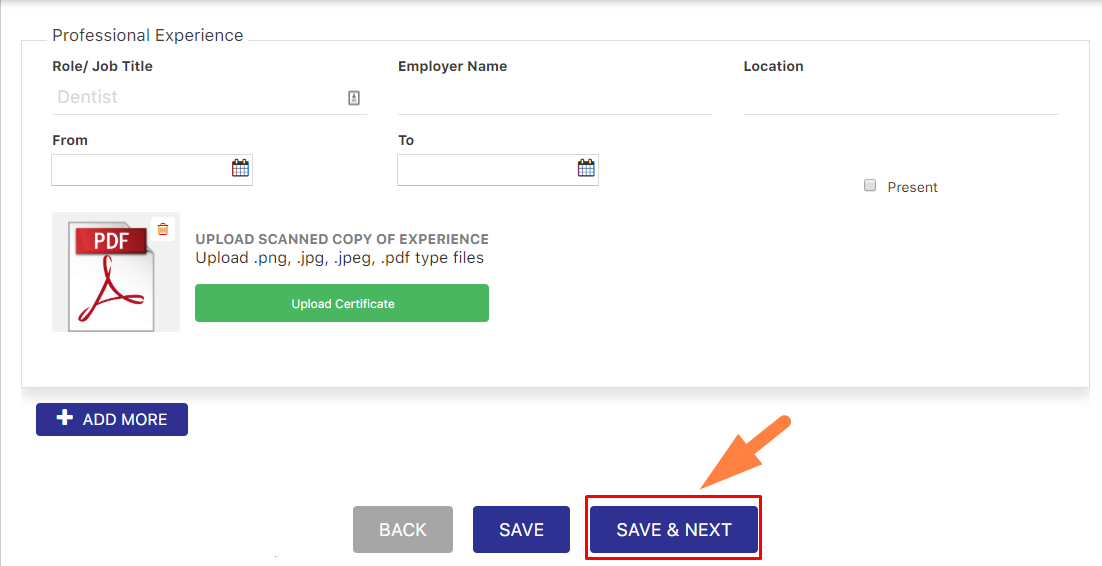
- Enter your Specialties Information and click Save & Next.
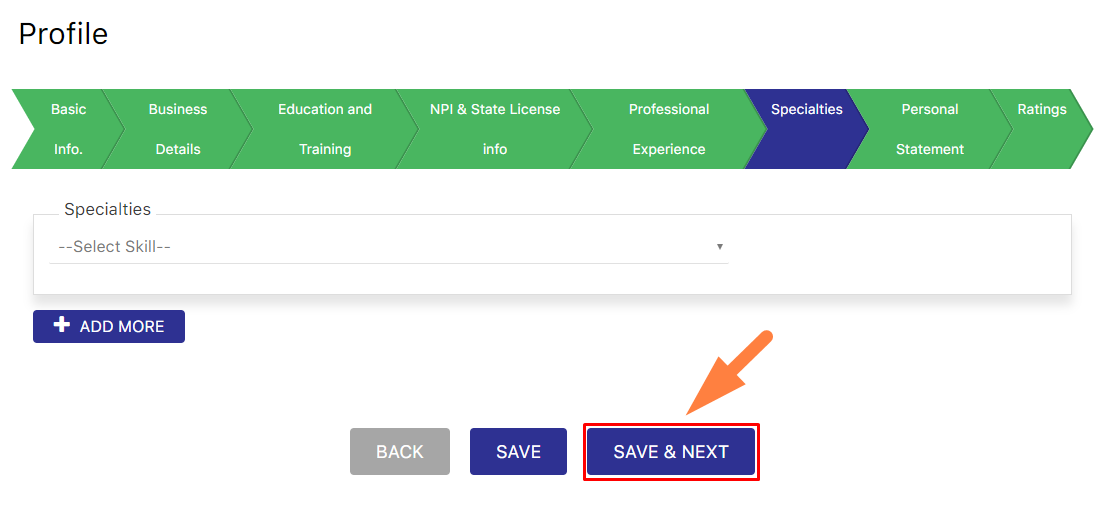
• Enter your Personal Statement and click Save & Next.
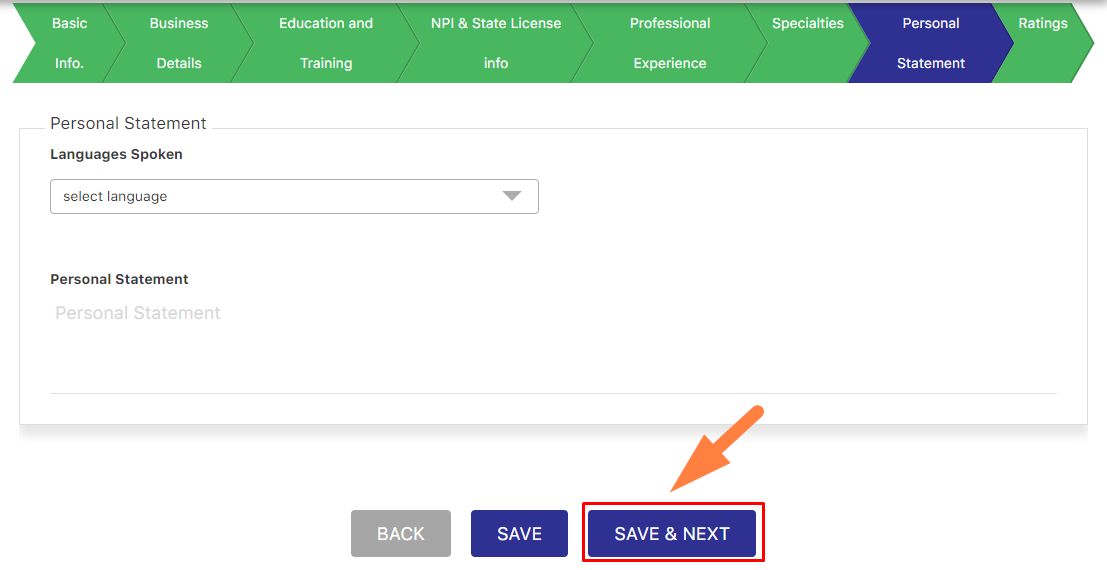
• Lastly, set up information about your ratings and reviews, and click Publish.
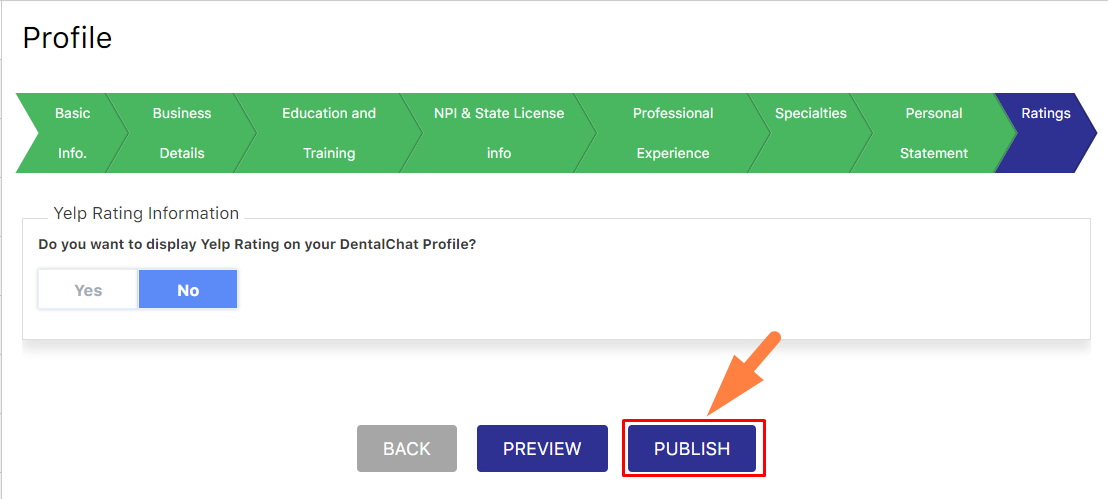
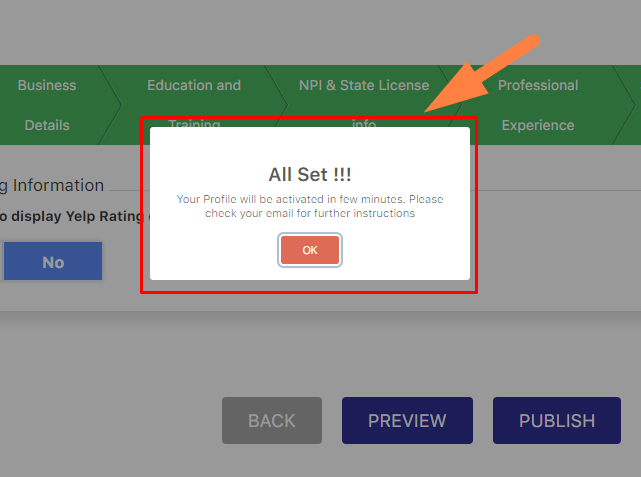
• All set!!! you have successfully saved your information and completed your profile.
15. How to make video calls?
a. Click 'Message' on the top menu.
b. Click the patient request from the Request list.
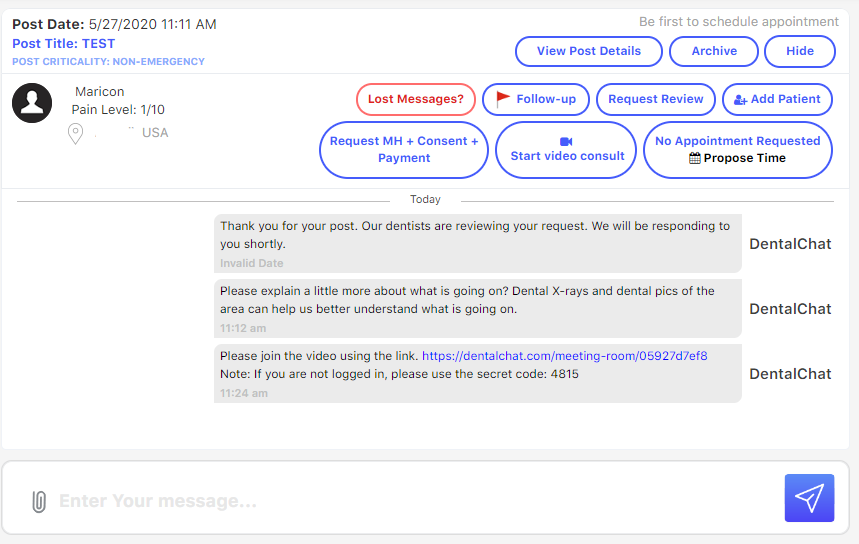
c. Click 'Start video Consultation' to start the video.
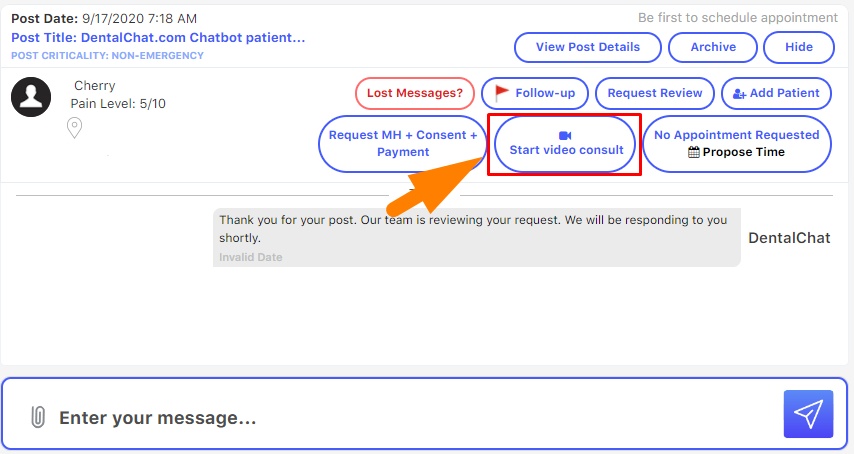
• Dentists will be routed to a different page where the video consultation will be conducted.

16. What is My virtual clinic?
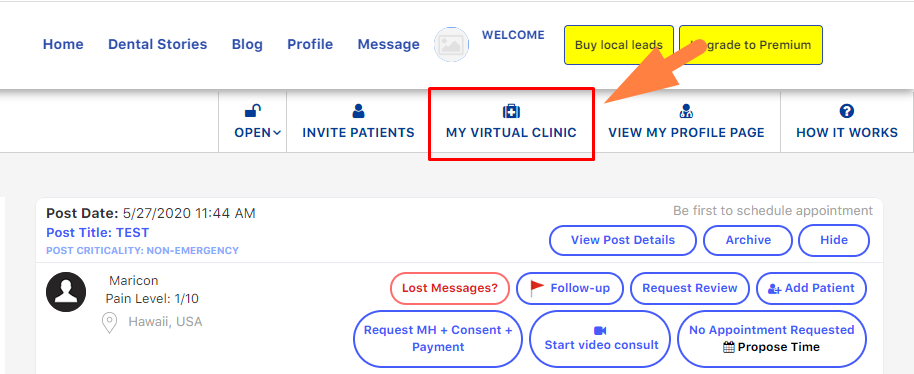
• A Click on My Virtual Clinic can show all the list of patients who are requesting video consultations.
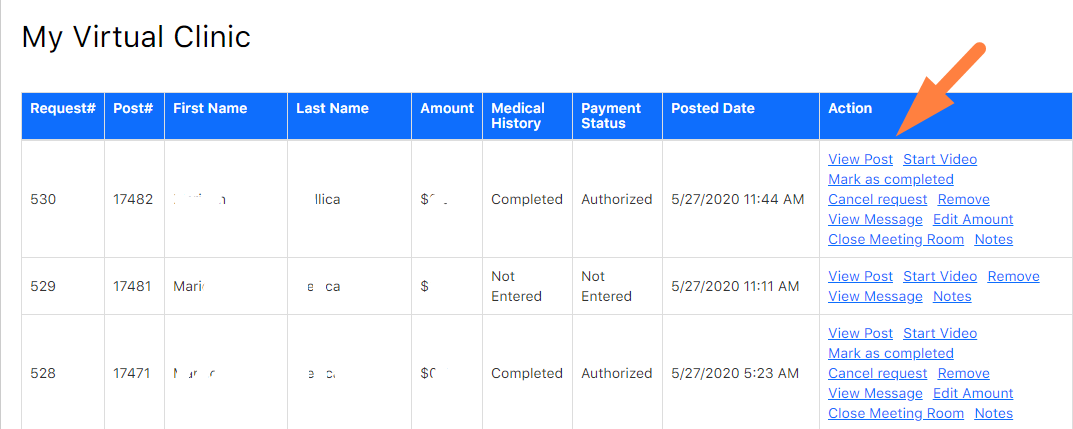
My virtual clinic has different Actions:
-
View Post
-
Start a video
-
Mark as completed
-
Cancel request
-
Remove
-
View Messages
-
Edit amount
-
Close meeting room
-
Notes
-
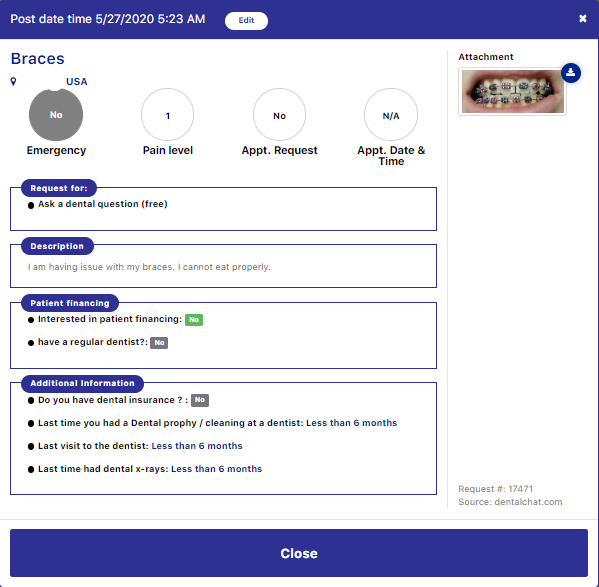
View Post: To view the lead’s information and request.
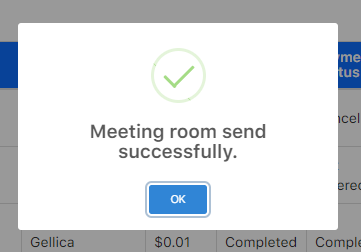
2. Start Video: To send the patient the meeting link where both Patient and Dentist can join to start the video consultation.
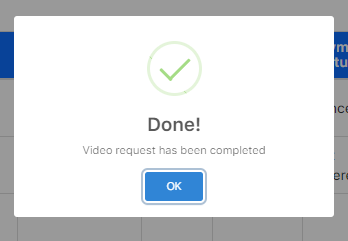
3. Mark as Completed: Click here once the video consultation has been completed.
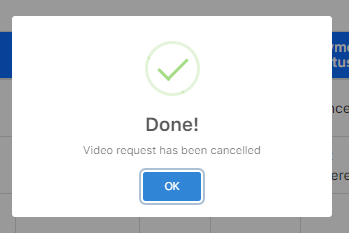
4. Cancel Request: Click here if you wish to cancel and not to proceed with the request.
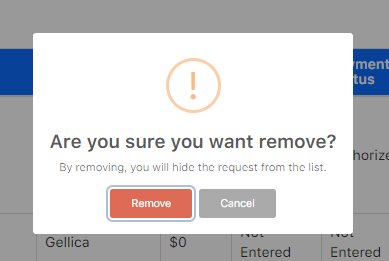
5. Remove: Click here if you wish to remove the Patient’s request from the list.
6. View Message: Click here and you’ll be directed to the message screen where you can chat with the patient.
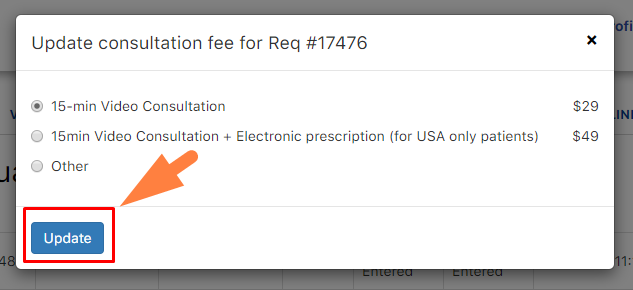
7. Edit amount: Click here if the patient wishes to change the type of consultation and modify the amount.
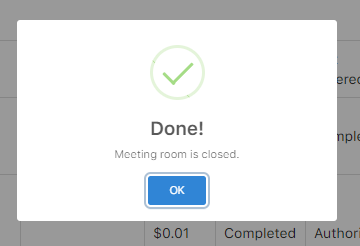
8. Close meeting room: Click here if you want to close the meeting room.
9. Notes: This is where the dentist can check the patient’s notes if there are any.

17. What is a personalized portal?
Patients do have a lot of questions and concerns about their dental needs during or after the procedure, the personalized portal is created by Just Dental so the patients can connect to their dentist easily. It is very important to support and stay connected with Patients. Just Dental tools are very simple, easy to use, and powerful. Using the Just Dental Powerful Communication suite, your patients can now reach your office directly, much easier like never before. The communication is secure, HIPPAA compliant, and stored, so you can retrieve it when needed. Best of all, all your staff can manage patient communication and still be transparent, and be on the same page.
Patients can use either of the two ways:
- Just Just Dentalbot on your website
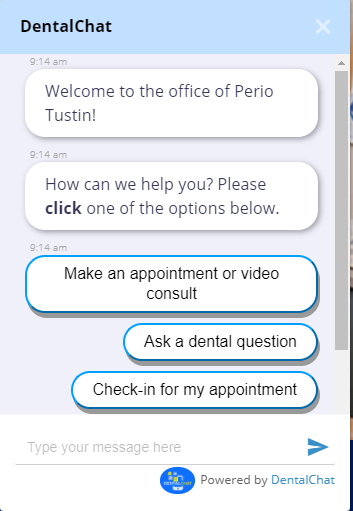
- Customized Patient portal for your practice.

Note: It is recommended to share your personalized portal link to patients, while they leave your office after the visit, so they connect with your practice, at all the times.
These are simplified steps to start your Just Dental dentist account. If you need additional assistance, please feel free to email support@just-dental.com

